

Feb
Avid has posted 5 extensive video tutorials on its website to help you get started with the Media Composer 7 editing system.
Get Started Fast with Avid Media Composer 7: Part 1
In the first tutorial, Kevin P McAuliffe walks us through basic processes such as creating projects, designing the interface and some of the most common settings including “bin” and “keyboard“.
It also teaches us how the “Command Palette” works and some interesting features of the bins that allow us to keep the project organized to be able to work faster later.
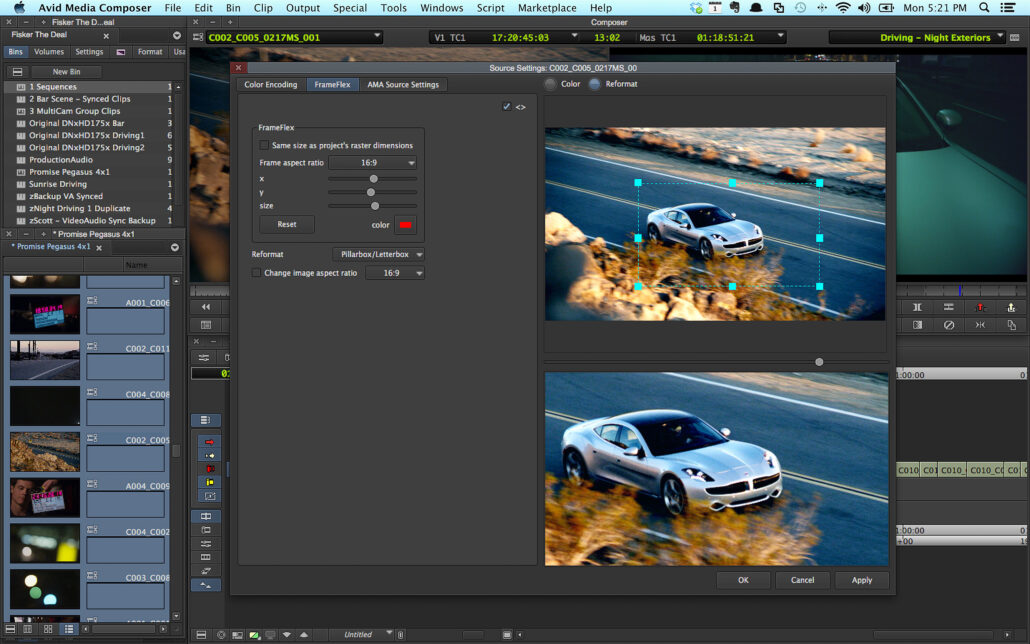
Get Started Fast with Avid Media Composer 7: Part 2
Here we come to the moment when we have to put the media into our project, either by digitizing, importing or linking through AMA.
With this tutorial you will learn how to prepare all your clips to start editing and also take a look at two new features that speed up your workflow: FrameFlex and background consolidate/transcode.
Get Started Fast with Avid Media Composer 7: Part 3
Once we have everything ready, it’s time to sit down and edit. In the third part of this series we will be shown basic editing techniques, as well as how to make a music mix or create eye-catching titles.
Get Started Fast with Avid Media Composer 7: Part 4
Transitions can be very useful to generate time ellipses, close plots or simply “embellish” our editing. Here you will learn how to work with them.
In addition, the tutorial goes into a slightly more complex level with the explanation of the 3D Warp tool, to add animations to any effect through keyframes. It also shows how to integrate elements created in other compositing applications thanks to the use of matte keys or alpha channels.
Get Started Fast with Avid Media Composer 7: Part 5
And finally, of course, exporting. How to take out my Media Composer montage to take it to the web, a DVD, Blu-Ray, tape or any digital file, as well as exporting a sequence for ProTools.